SSL certificate installation
This network employs technologies which involve the use of locally generated SSL certificates. In order for these technologies to work effectively (in particular, to avoid browser security warnings and ensure compatibility with mobile applications), your computer or mobile device must install and trust the network's SSL root certificate.
This guide will help you install your network's SSL root certificate as a trusted root CA certificate via a Windows / Active Directory Group Policy Object (GPO). Certificates installed via Group Policy will be respected, on devices joined to the domain, by all browsers which use the operating system's built-in certificate store — this includes Internet Explorer, Edge, and Chrome.
Step 1
First, click the Download Certificate button below. Depending on your browser and configuration, you may be prompted to save the certificate. If so, select a folder to save the file in, and then click Save. In some browsers, the certificate will download immediately.
Step 2
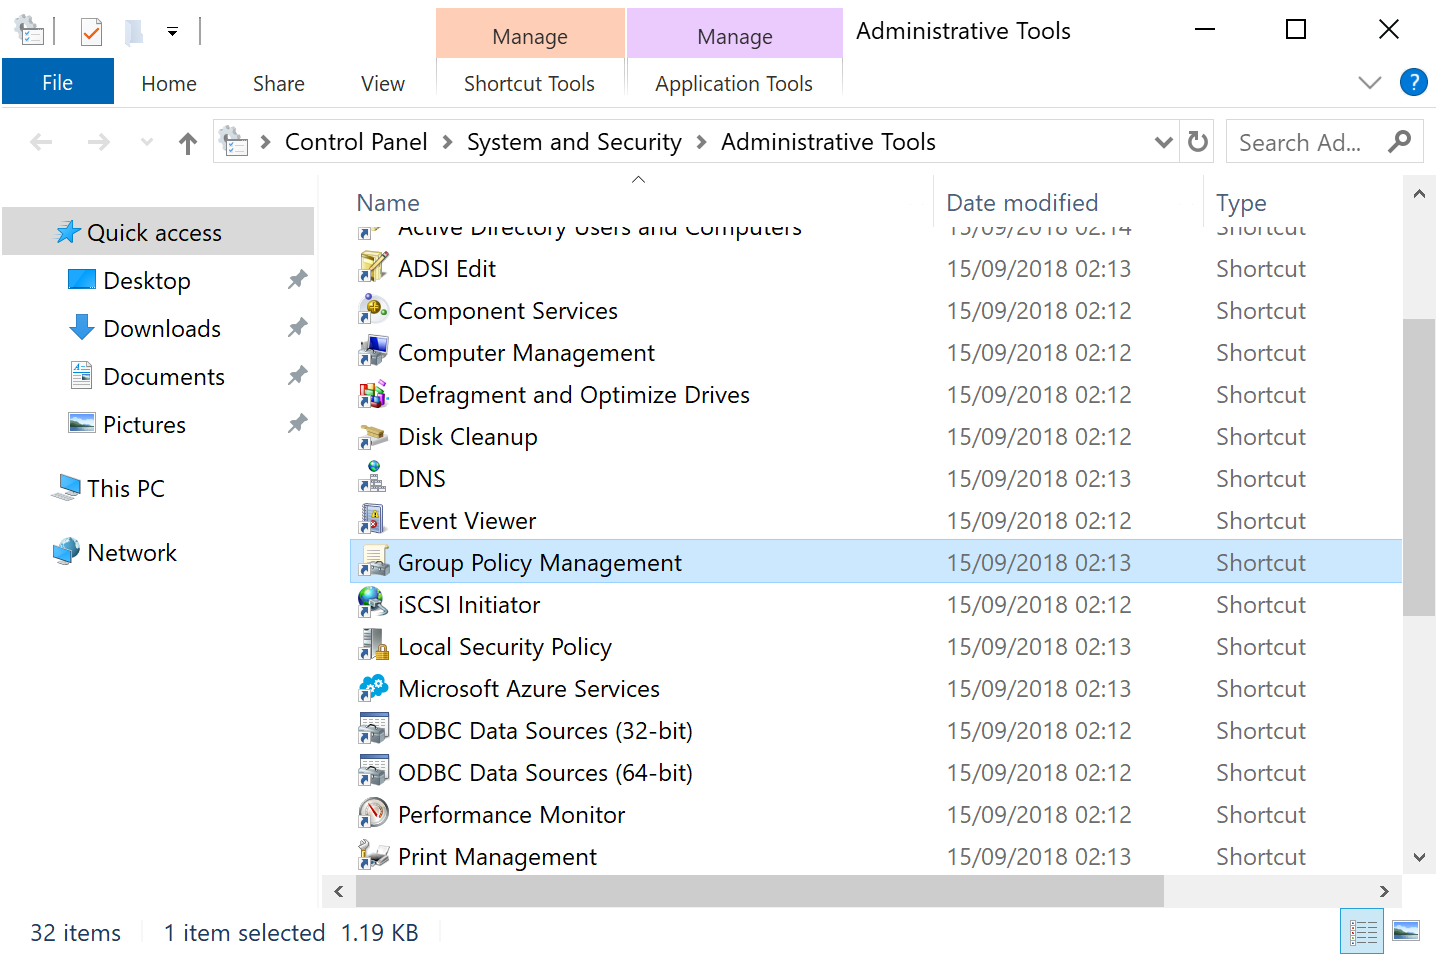
Using an account with sufficient administrative permissions, launch the Group Policy Management tool. This can usually be found under Administrative Tools in either the Start menu or the Control Panel. (On recent versions of Windows Server, Group Policy Management must first be installed via the Server Manager utility.)
(Note: These images show Windows Server 2019; you may not see exactly the same thing if you are using a different version of Windows; however, the general process and wording should be the same.)
Step 3

Highlight the Group Policy Object you'd like to modify — if you aren't sure which one, please contact your domain administrator or directory vendor — and right-click it. Then, click Edit.
Step 4

The Group Policy Management Editor will open next. In the left-hand column, expand (double-click) the list items as follows: Computer Configuration > Policies > Windows Settings > Security Settings > Public Key Policies. (In older versions of Windows, Windows Settings may appear directly beneath Computer Configuration.)
Under Public Key Policies, right-click on Trusted Root Certification Authorities and click Import.
Step 5
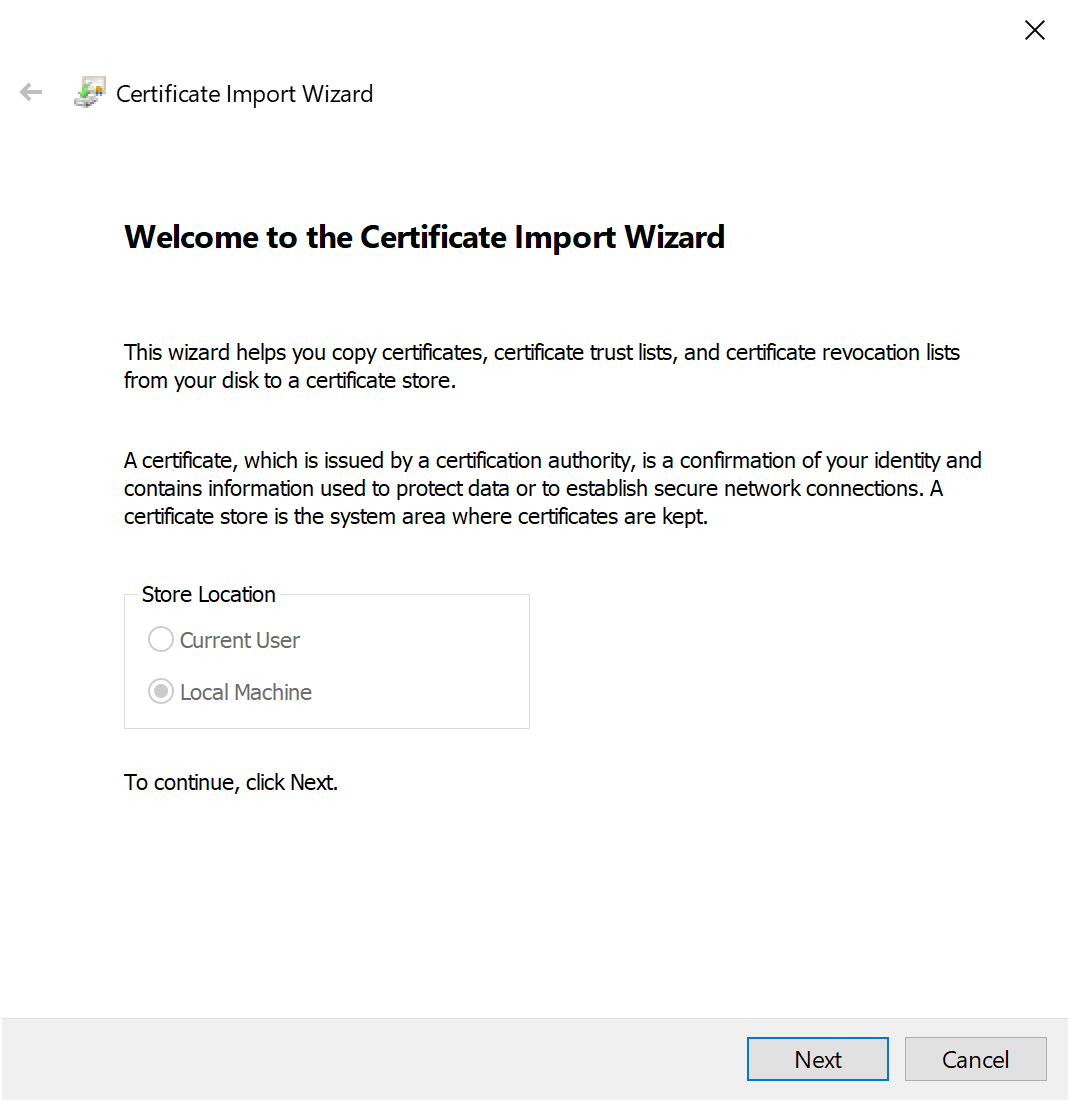
The Certificate Import Wizard will open. On recent versions of Windows, you may see a screen with Local Machine selected; on older versions, there may simply be an introductory page. In any case, click Next.
Step 6
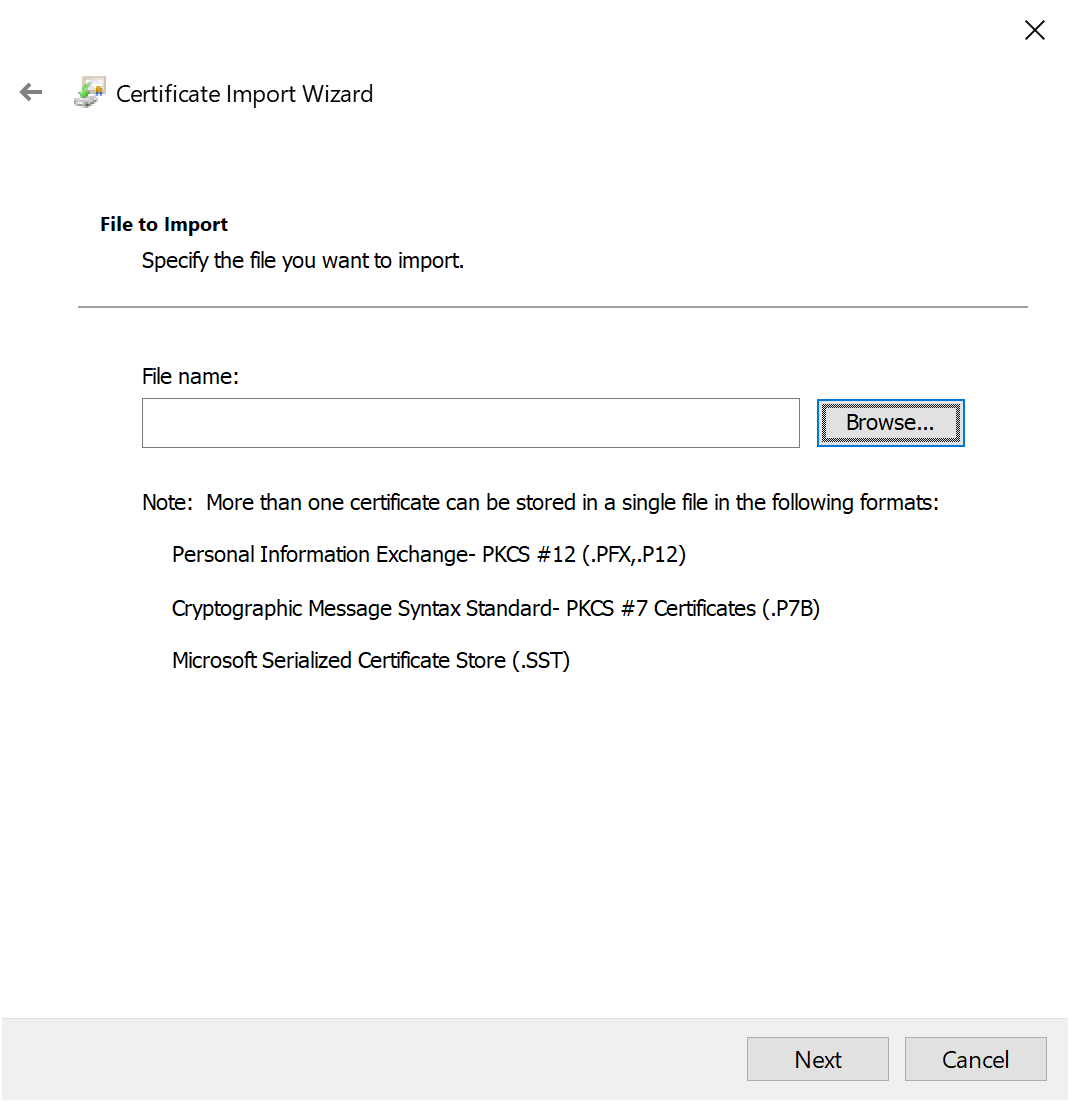
You will be prompted to specify the certificate file to import; click the Browse button to the right.
Step 7

An Open dialog will appear, allowing you to select a file. Locate the certificate file you saved earlier (probably under Downloads), highlight it, and click Open.
Step 8
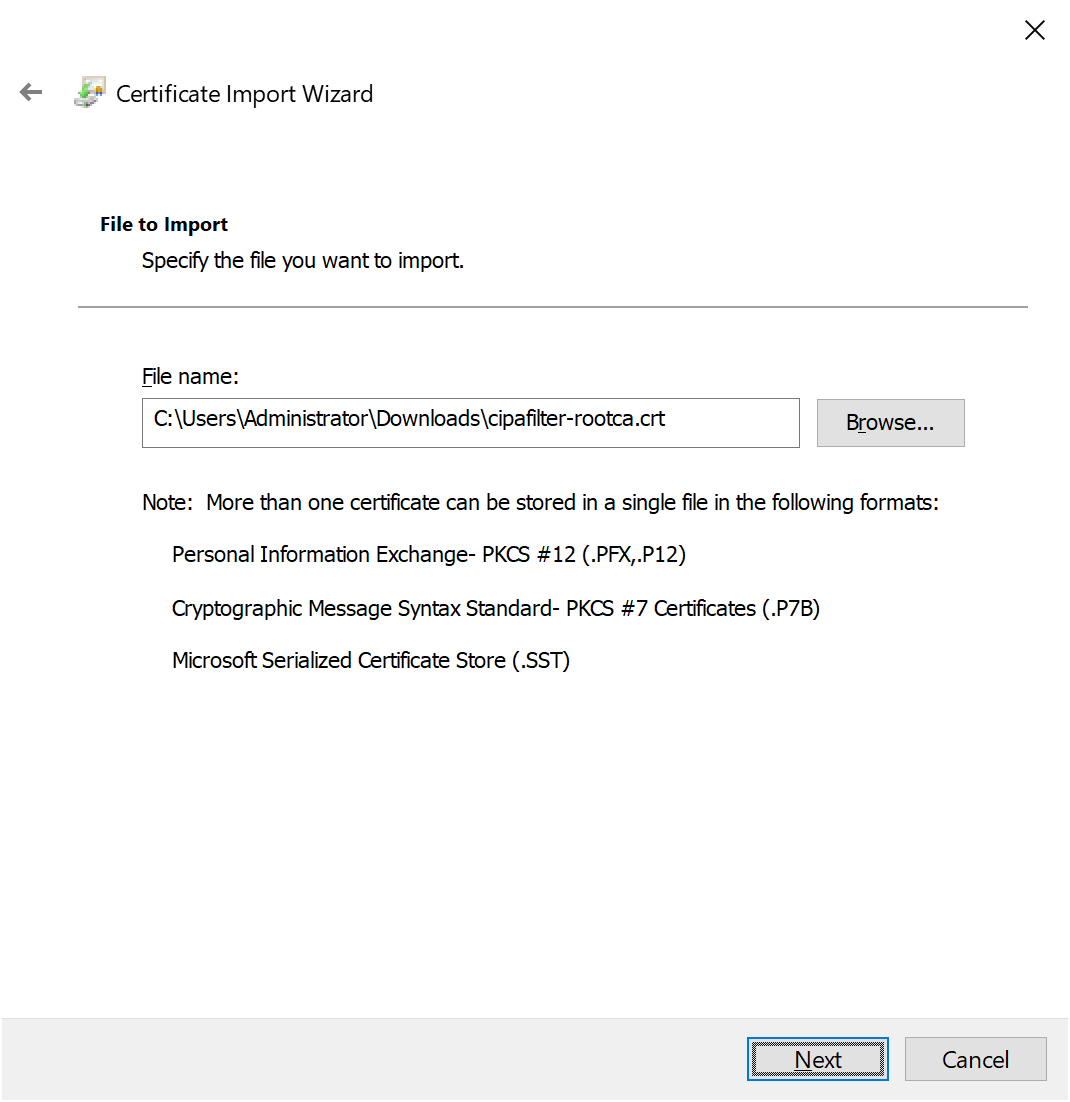
The File to Import screen should now show the certificate file name; click Next.
Step 9

You will be prompted for a certificate store. The correct choice — Trusted Root Certification Authorities — should already be selected; click Next.
Step 10

At the Completing the Certificate Import Wizard screen, press the Finish button.
Step 11

A confirmation will appear, indicating that the certificate import was successful. Press OK.
Step 12
You're done! You may close any remaining certificate windows and continue working as usual; the certificates will be installed to all applicable work stations automatically upon the next log-in. In most cases, you (and your users) will not notice anything different after the certificate is installed.